The first time you photograph a hill town at sunrise, you will probably be late. Not because you overslept, but because the light arrives earlier than the sky suggests: the colour starts while the streets are still genuinely dark, and by the time the sun actually appears, the best of it is often gone. Hill towns are unforgiving subjects in that way. They are small, fixed and entirely dependent on where you stand and when — get those two things right and the lens choice, the settings and the processing all become much simpler.
Scout the Town the Afternoon Before
Arriving at dawn without having walked the place in daylight is the single most common mistake. Spend an hour the previous afternoon doing three things. First, walk the outside of the walls and find the point where the town is most legible as a shape — usually a bend in the road below, or a field on the far side of the valley. Second, note which façades face the sunrise and which stay in shadow. Third, look for the practical stuff: where you can legally park before dawn, whether there is a gate or a barrier, and how long it takes to walk from the car to your chosen spot.
Use a sun-path app to check the azimuth at sunrise for your date, and pay attention to the elevation of the ridge opposite. This matters more than most people expect. In a valley, the town may not receive direct sun until twenty or thirty minutes after the official sunrise time, which changes your entire schedule. In the northern hemisphere the sun rises roughly northeast in midsummer and southeast in midwinter; a town that glows in June can sit in shade at the same hour in November.
The Four Lights of a Hill Town Morning
Think of the first hour as four distinct events rather than one. They need different technique and they rarely suit the same viewpoint.
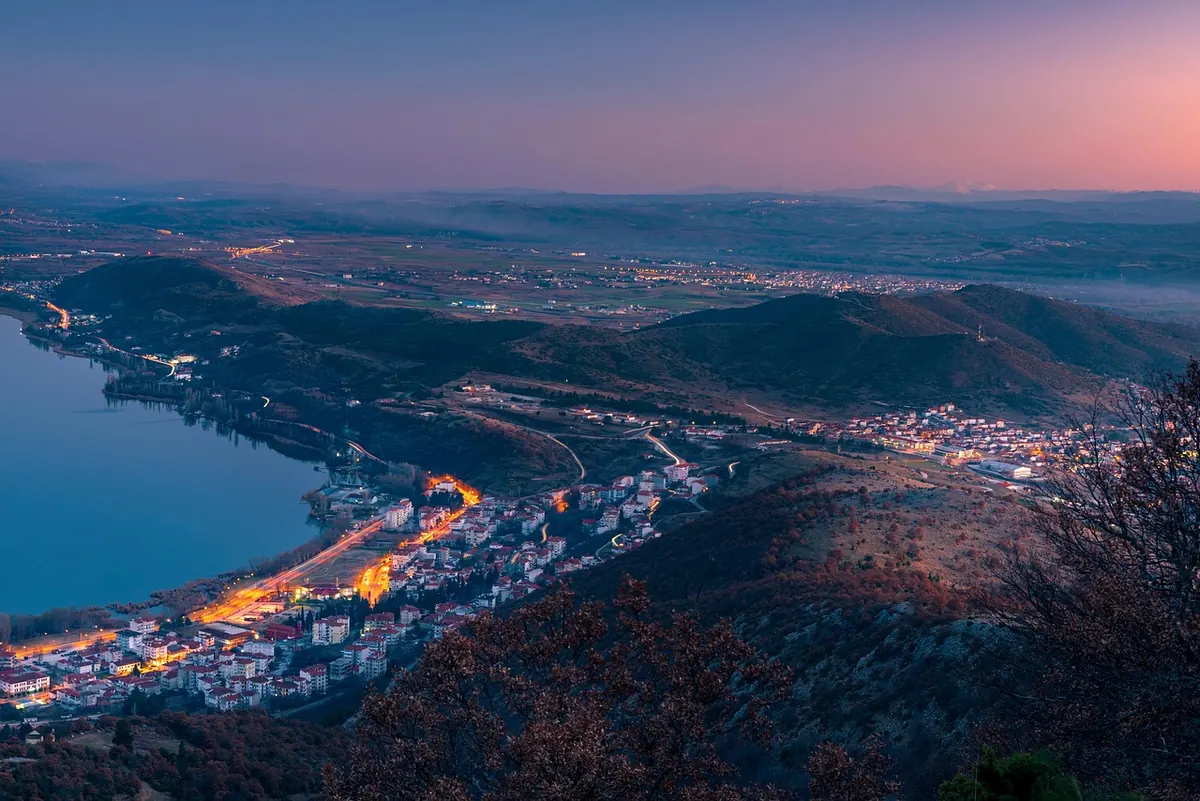
- Pre-dawn blue. Roughly thirty to forty minutes before sunrise. The sky is a deep, even blue, street lamps are still on, and windows glow. This is long-exposure territory: tripod, low ISO, exposures of several seconds. It also rewards walking inside the walls, where the mix of tungsten light and cool ambient is the whole point.
- First colour. Ten to twenty minutes before sunrise. Warm light appears on high cloud and on the upper edges of the town while the valley stays cold and blue. Contrast is the subject here, not detail.
- The crest. The moment the sun clears the opposite ridge and hits the top of the town first — campanile, roofline, fortress tower. This is short, often two or three minutes of ideal light, and you need to be already set up. Do not move during it.
- Open sun. Twenty to forty minutes after sunrise. Contrast rises fast and mist begins to burn off. Best used for side-light on stone walls, for detail, and for small scenes in the streets rather than the grand view.
Where to Stand
Almost every good hill-town sunrise comes from one of three positions, and it is worth knowing all three before you commit.
The opposite ridge or hillside
The classic view, and still the most reliable. You want elevation roughly level with the town's upper third, not above it — looking down flattens the buildings into a model village. A focal length between 70mm and 200mm compresses the town against the valley behind it and gives you layers: foreground trees, the town, the far ridges. On a clear morning a longer lens is usually better than a wide one.
Inside the walls
Before the sun clears the ridge, the streets are quiet and the light is soft and blue. Look for narrow lanes running east–west, where the far end catches first light while the near end stays in shadow. Doorways, archways and steep staircases work well as frames. You will be working at slow shutter speeds, so a small tripod or a wall to rest on is not optional.
The approach road
Switchbacks below the town often give a clean diagonal of road leading the eye upward, with the town sitting at the end of it. These spots are easy to reach in the dark and usually have space to park. The trade-off is foreground clutter — signage, guardrails, cables. Walk fifty metres in each direction before you settle.
Weather, Mist and the Inversion
The most memorable mornings are not the clearest ones. Valley fog is what turns a good photograph into one you keep. It forms most readily on still, humid nights after a warm day, particularly in autumn and early spring, and it usually sits below the town, leaving the roofs and towers above a white layer.
Clear skies give you clean light; a little fog gives you atmosphere. Wind is the enemy of both.
Check the forecast the night before for three things: cloud cover, wind speed and the difference between daytime and overnight temperature. A completely clear, windy night usually means a hard, bright, unremarkable sunrise. Light cloud and no wind is far more promising. When the forecast is uncertain, go anyway — the twenty minutes around sunrise are difficult to predict and often better than expected. Take a cloth for the front element; mist condenses on glass quickly when you move between cold air and warm pockets in the valley.
Composition That Doesn't Look Like a Postcard
The postcard shot — town centred, sky filling the top half — is easy to take and easy to forget. A few habits push you past it.
Build in layers and let them overlap: a dark foreground of cypress or olive, the town in the middle distance, two or three receding ridges behind. Deliberately place the town off-centre and give the light somewhere to travel across the frame. Include something small for scale — a figure on a wall, a line of washing, a single lit window — because hill towns photographed from a distance can look like scenery rather than places where people live.
Watch your exposure for the highlights. Sunlit stone at altitude is bright enough to clip easily; expose so the brightest walls hold detail and lift the shadows later. Bracket a stop either side if you are unsure, and shoot more frames than you think you need during the crest, when the light changes second by second. A graduated filter is less useful than it once was, but a polariser still helps control haze on distant ridges — just do not overdo it, or the sky turns an unnatural, inky blue.
The Morning Itself: A Short Checklist
- Confirm sunrise time and the azimuth, then subtract forty-five minutes and set two alarms.
- Park where you scouted, not where the satnav suggests. Walk the route in the dark once with a headlamp on red.
- Carry: tripod, two lenses (a standard and a short telephoto), spare battery kept in an inside pocket, lens cloth, and a small torch.
- Set up fifteen minutes before first colour. Compose, focus manually on the town, then leave the camera alone.
- Shoot the blue hour, the colour, the crest, then keep going for another half hour while the mist lifts.
- Before you leave, take one wide frame of the whole scene. It is the best note you can make for next time.
Give yourself one more morning in the same town if you can. The second visit is always better than the first, because you stop looking for a photograph and start looking at the place.
Photo: johnNaturePhotos / Pixabay