You get home, load the card, and there it is: the heron you waited forty minutes for, framed nicely, lit warm by a low sun, and soft. Not ruined, just soft where it matters — the eye, the feather detail, the small textural things that make a wildlife photograph feel alive. It is tempting to blame the lens. Most of the time the lens is fine. Softness in animal photography usually comes down to four or five decisions made in the seconds before you pressed the shutter, and all of them can be corrected in the field.
Diagnose the Softness Before You Blame the Lens
Open the frame at 100 percent and find the sharpest thing in it. That one habit will save you hours of guessing. If the crispest detail is a clump of grass half a metre in front of the fox, the camera focused there and the fox sat outside the zone of acceptable sharpness. If nothing in the frame is sharp and edges look doubled or dragged in one direction, you are looking at movement — the animal's or yours. If everything is uniformly flat, as though a thin veil lies over the file, the cause is usually environmental: heat shimmer, mist, a smeared front element, a cheap filter, or cropping so hard that the pixels give up.
Those three failures — missed focus, motion, and atmosphere — need completely different fixes. Mixing them up is why photographers spend a season buying lenses when they should have been changing settings.
Focus Mode: Continuous Wins More Often Than You Think
Wildlife does not hold still, and cameras left in single-shot autofocus will lock onto a bird's shoulder a fraction of a second before it hops. If your autofocus only confirms once, every small movement between that confirmation and the shutter opening turns into blur. Set continuous autofocus and keep it there as your default.
- Single-servo (AF-S, One-Shot): locks focus once and holds it. Genuinely useful for a sleeping seal, a basking lizard, or a subject you have deliberately pre-focused on.
- Continuous (AF-C, AI Servo): keeps recalculating while the shutter is half-pressed or the back button is held. This is the mode for birds, mammals, insects in a breeze, and anything with a pulse.
- Focus priority versus release priority: many cameras will fire the moment you press the shutter even if focus has not been confirmed. That setting alone produces a steady supply of soft frames. Switch to focus priority.
- Focus limiter switches: on longer lenses, restrict the focus range so the lens stops hunting through the entire distance scale when a branch drifts in front of your subject.
Animal eye detection is genuinely useful now, but treat it as assistance rather than authority. It can grab an ear, a beak tip, or a distracting highlight. Watch the confirmation box land where you want it before you commit.
Shutter Speed Is the Setting to Check First
Every soft-image conversation should start here. A long lens narrows your field of view, which magnifies every tremor in your hands, and a small subject magnifies every twitch of its own. Some working numbers to keep in your head:
- Perched small birds that twitch and flick: 1/1000 sec as a starting point, faster if they are actively feeding.
- Birds in flight, running mammals, anything airborne: 1/2000 to 1/3200 sec.
- Large, calm animals standing still: 1/250 sec is often enough, provided your support is solid.
- Handheld with a long zoom at dusk: at least 1/(twice your effective focal length) unless you have stabilisation and very steady hands.
Stabilisation helps with your movement and does nothing for the subject's. A 600mm lens on a stabilised body will still produce a soft frame at 1/125 sec if the subject is a warbler shifting its weight. When light runs out, raise ISO rather than drop shutter speed. A sharp, slightly noisy file cleans up well; a blurred one does not.
Where You Put the Focus Point
Photographers lose more sharp frames to focus-and-recompose than to any faulty gear. You lock focus on the eye, swing the camera to place the animal off-centre, and the plane of focus tilts away from the eye — at close range and wide apertures the shift is enough to soften the face. Move the autofocus point instead of the camera. Modern bodies make this quick with a joystick or touchpad, and it takes a few outings to become automatic.
Aim for the eye, always. On a side-on animal, the near eye is your reference. On a bird facing away, the back of the head is usually the best available plane. Use a group or zone mode when the subject moves unpredictably, and a single small point when it sits still behind foliage — the smaller point is far less likely to grab a leaf in front of the face.
Handholding a Long Lens
Technique matters more with a heavy lens than most people admit. Stand with your feet apart and your weight slightly forward. Tuck your elbows in rather than flaring them out. Rest the lens on your left palm and pull it gently back into your shoulder so the whole setup becomes one braced unit. Lean against a tree, a fence post, or the roof of a car when you can; a beanbag on a window frame beats any handheld stance.
Breathe out slowly and press the shutter at the natural pause, not mid-inhale. Fire short bursts of three or four frames rather than one long machine-gun run — the first frame is often the steadiest, and long bursts encourage you to drift. Follow through: keep the camera steady for a beat after the shot instead of dropping it to check the screen immediately.
Heat Haze, Distance, and Apertures That Work Against You
Sometimes the light itself refuses to cooperate. Shooting across open ground at midday, especially over tarmac, sand, or a sun-warmed field, produces shimmering air that no autofocus system can cut through. The animal looks soft because the image is literally being bent on its way to your lens. Get closer, shoot from a lower angle, or come back in the early morning.
Two other quiet culprits are worth checking. First, very small apertures: stopping down past roughly f/11 or f/16, depending on your sensor, introduces diffraction that softens the whole frame — f/5.6 to f/8 with precise focus usually looks better than f/16 with everything vaguely in range. Second, glass in the way: a dirty front element, a misted lens, a stacked filter, or a teleconverter that pushes the optics past their comfort zone. Clean the glass, remove filters you do not need, and use a hood to keep stray light and rain off the front element.
A Five-Second Check Before Every Shot
Run this sequence until it becomes reflex. It catches the great majority of soft wildlife frames.
- Is the camera in continuous autofocus with focus priority?
- Is my shutter speed fast enough for this subject's behaviour, not just for my hands?
- Is the focus point on the eye — and did I move the point rather than the camera?
- Am I braced, breathing out, and holding the lens properly?
- Is the air between me and the animal clean and cool, and is my aperture sensible?
None of this requires new equipment. It requires slowing down for five seconds, which is often the hardest part when a kingfisher finally lands in front of you. Practise the check on common subjects — ducks, gulls, squirrels in a park — so that when the rare moment arrives, your hands already know what to do.
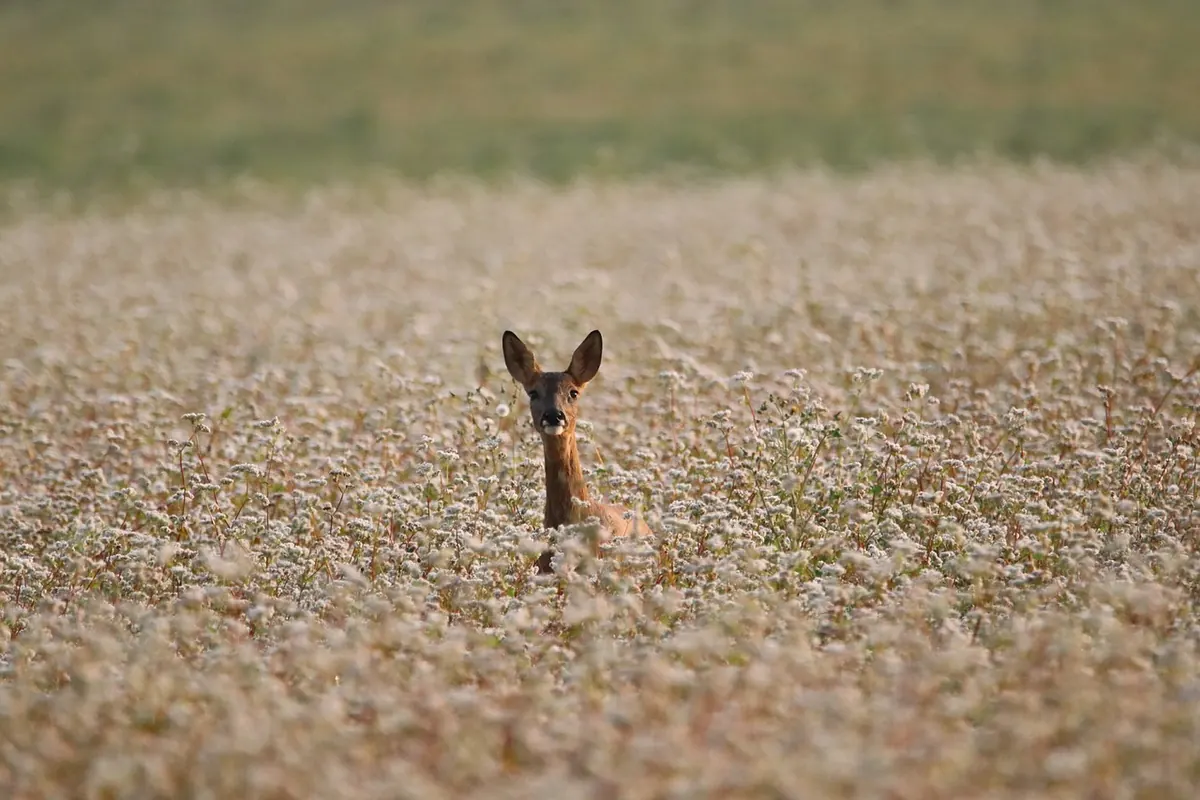
Photo: NathalieBurblis / Pixabay